经过前几篇的学习,已经基本了解了如何部署一个应用、如何创建文件共享、如何通过服务实现负载均衡以及如何通过Renetd实现服务对外暴露。接下来学习实战,如何部署一个通过 Spring Boot 开发的商城web应用——贝亲商城。
部署拓扑图

通过这个拓扑图,我们可知:
- master节点上的文件共享区有数据库脚本,用来初始化
MySql数据库,并部署在一个pod上
- 通过
beiqin-db-service这个服务,在集群上暴露MySql服务
- 通过
openjdk:8u222这个基础镜像,部署web服务(使用SpringBoot开发),容器对外暴露端口是80
- 通过
beiqin-app-service这个服务,对外暴露贝亲商城应用的端口,也是80
- 采用
Renetd实现宿主机IP和beiqin-app-service服务虚拟IP的映射,最终能够对集群外网提供服务
部署贝亲商城
部署资源
我们将部署脚本还有服务jar包、mysql脚本文件等,放到/usr/local/data/www-data/beiqin/目录下。
其中,/usr/local/data/www-data/是前文我们配置好的文件共享区。
以下是部署贝亲商城应用所需的所有资源文件,下面将一一创建并部署
 1
 2
 3
 4
 5
 6
 7
 8
 9
10
11
|
[root@master www-data]# tree beiqin
beiqin
├── beiqin-app-deploy.yml   # web应用部署脚本文件
├── beiqin-app-service.yml  # web应用服务部署脚本文件
├── beiqin-db-deploy.yml    # mysql部署脚本文件
├── beiqin-db-service.yml   # mysql服务部署脚本文件
├── dist
│   ├── application.yml     # 应用程序配置文件
│   └── beiqin-app.jar      # spring-boot开发的应用程序jar包,可以在openjdk容器中直接运行
└── sql
    └── beiqin.sql          # mysql脚本文件
|
部署贝亲商城
1. master创建NFS文件共享,并挂载到Node节点
这里我们简单沿用 K8S笔记5 基于NFS的集群文件共享 中配置的,将master的 /usr/local/data/www-data/目录挂载到 node 主机的 /mnt目录,这里不多赘述了。
2. 部署并初始化数据库
2.1 编写beiqin-db-deploy.yml文件
 1
 2
 3
 4
 5
 6
 7
 8
 9
10
11
12
13
14
15
16
17
18
19
20
21
22
23
24
25
26
|
apiVersion: apps/v1beta1         # 新版的k8s,版本号写法
kind: Deployment                 # 脚本类型:创建部署
metadata:
  name: beiqin-db-deploy         # 部署名称
spec:
  replicas: 1                    # 副本数,由于是mysql,只需要1个即可
  template:
    metadata:
      labels:
        app: beiqin-db-deploy    # pod标签
    spec:
      volumes:                   # 创建挂载卷
      - name: beiqin-db-volume   # 挂载卷名称
        hostPath:
          path: /mnt/beiqin/sql # 挂载路径(数据卷在Node宿主机上的路径)
      containers:
      - name: beiqin-db-deploy
        image: mysql:5.7        # 使用镜像:mysql:5.7
        ports:
        - containerPort: 3306   # 容器对集群暴露的端口号:3306
        env:                    # 注意:env是之前没配置过的,表示容器的环境变量
        - name: MYSQL_ROOT_PASSWORD  # 环境变量1:mysql root密码
          value: "root"              # 环境变量的值,注意字符串要用""包起来
        volumeMounts:                # 容器挂载信息
        - name: beiqin-db-volume
          mountPath: /docker-entrypoint-initdb.d  # 挂载路径,挂载到这个目录,容器启动时会自动加载里面的sql脚本文件
|
2.2 部署mysql到集群
1
2
|
# cd /usr/local/data/www-data/beiqin
$ kubectl create -f beiqin-db-deploy.yml
|
2.3 查看部署情况
 1
 2
 3
 4
 5
 6
 7
 8
 9
10
11
12
13
14
15
16
17
18
19
20
21
22
23
24
25
26
27
28
29
30
31
32
33
34
35
36
37
38
39
40
41
42
|
# 查看部署的pod
$ kubectl get pod -o wide
NAME                                READY   STATUS    RESTARTS   AGE     IP            NODE    NOMINATED NODE   READINESS GATES
beiqin-db-deploy-757d87dc77-g5wrf   1/1     Running   0          5m17s   10.244.1.12   node1   <none>           <none>

# 进入pod容器内部,查看mysql是否能登录 & 是否执行了脚本创建了数据库和表
$ kubectl exec -it beiqin-db-deploy-757d87dc77-g5wrf /bin/bash

# 在容器内部,登录mysql
$ mysql -uroot -proot
# 查看数据库,可以发现数据库已经创建
mysql> show databases;
+--------------------+
| Database           |
+--------------------+
| information_schema |
| beiqin             |
| mysql              |
| performance_schema |
| sys                |
+--------------------+
5 rows in set (0.06 sec)

# 查看表,发现表也已经创建
mysql> use beiqin;
Reading table information for completion of table and column names
You can turn off this feature to get a quicker startup with -A

Database changed
mysql> show tables;
+---------------------+
| Tables_in_beiqin    |
+---------------------+
| t_category          |
| t_evaluate          |
| t_goods             |
| t_goods_cover       |
| t_goods_detail      |
| t_goods_param       |
| t_promotion_seckill |
+---------------------+
7 rows in set (0.00 sec)
|
2.4 编辑db服务脚本
编写beiqin-db-service.yml ,这个脚本和部署脚本相比简单得多~
 1
 2
 3
 4
 5
 6
 7
 8
 9
10
11
12
|
apiVersion: v1
kind: Service # 类型:服务
metadata:
  name: beiqin-db-service # 服务名称
  labels: # 服务也是一个特殊的pod,也需要配置标签
    app: beiqin-db-service
spec:
  selector: # 选择关联的pod标签,也就是上一步创建的db部署pod
    app: beiqin-db-deploy
  ports:
  - port: 3310 # 服务对外暴露端口,对外指的是容器外,集群内
    targetPort: 3306 # 服务容器内端口
|
2.5 部署服务
 1
 2
 3
 4
 5
 6
 7
 8
 9
10
11
12
13
14
15
16
17
18
19
20
21
22
|
$ kubectl create -f beiqin-db-service.yml
# 验证服务是否正常 kubectl get svc 和 kubectl get service 完全等效
$ kubectl get svc
NAME                TYPE        CLUSTER-IP     EXTERNAL-IP   PORT(S)    AGE
beiqin-db-service   ClusterIP   10.107.5.137   <none>        3310/TCP   7s
kubernetes          ClusterIP   10.96.0.1      <none>        443/TCP    27h
# 这里我们可以看到,服务的虚拟IP是 10.107.5.137 ,对外暴露端口是 3310(pod外,集群内)

# 进一步查看服务的详细信息
$ kubectl describe svc beiqin-db-service
Name:              beiqin-db-service
Namespace:         default
Labels:            app=beiqin-db-service
Annotations:       <none>
Selector:          app=beiqin-db-deploy
Type:              ClusterIP
IP:                10.107.5.137 # 虚拟IP
Port:              <unset>  3310/TCP # 对外暴露的端口
TargetPort:        3306/TCP # 目标端口
Endpoints:         10.244.1.12:3306 # 关联的pod虚拟IP和端口号,10.244.1.12是启动的那个db部署pod的虚拟IP
Session Affinity:  None
Events:            <none>
|
3. 部署web应用并初始化服务
3.1 编写部署脚本
编辑 beiqin-app-deploy.yml 文件
 1
 2
 3
 4
 5
 6
 7
 8
 9
10
11
12
13
14
15
16
17
18
19
20
21
22
23
|
apiVersion: apps/v1beta1
kind: Deployment
metadata:
  name: beiqin-app-deploy
spec:
  replicas: 2 # 副本数:2
  template:
    metadata:
      labels:
        app: beiqin-app-deploy
    spec:
      volumes:
      - name : beqin-app-volume
        hostPath:
          path: /mnt/beiqin/dist # 数据卷宿主机挂载目录,存放jar包和应用配置
      containers:
      - name: beiqin-app-deploy
        image: openjdk:8u222-jre  # 容器镜像,使用openjdk:8u222-jre
        command: ["/bin/sh"] # 注意:这里 command表示容器启动时执行的指令,这里执行shell命令
        args: ["-c","cd /usr/local/beiqin/dist;java -jar beiqin-app.jar"] # 指令参数
        volumeMounts:
        - name: beqin-app-volume
          mountPath: /usr/local/beiqin/dist # 容器内挂载的目录
|
3.2 创建部署
1
2
3
4
5
6
7
|
$ kubectl create -f beiqin-app-deploy.yml
deployment.apps/beiqin-app-deploy created
$ kubectl get pod -o wide
NAME                                 READY   STATUS    RESTARTS   AGE     IP            NODE    NOMINATED NODE   READINESS GATES
beiqin-app-deploy-5958f57879-n9p9b   1/1     Running   0          75s     10.244.2.17   node2   <none>           <none>
beiqin-app-deploy-5958f57879-nfs8s   1/1     Running   0          75s     10.244.1.19   node1   <none>           <none>
beiqin-db-deploy-757d87dc77-g5wrf    1/1     Running   2          2d19h   10.244.1.17   node1   <none>           <none>
|
3.3 创建服务
编辑服务脚本,写入如下内容
 1
 2
 3
 4
 5
 6
 7
 8
 9
10
11
12
13
|
$ vim beiqin-app-service.yml
apiVersion: v1
kind: Service
metadata:
  name: beiqin-app-service
  labels:
    app: beiqin-app-service
spec:
  selector:
    app: beiqin-app-deploy
  ports:
  - port: 80
    targetPort: 80
|
创建服务到集群
1
2
3
4
5
6
7
8
|
$ kubectl create -f beiqin-app-service.yml
service/beiqin-app-service created
# 查看服务pod状态
$ kubectl get svc
NAME                 TYPE        CLUSTER-IP      EXTERNAL-IP   PORT(S)    AGE
beiqin-app-service   ClusterIP   10.97.138.238   <none>        80/TCP     58s
beiqin-db-service    ClusterIP   10.107.5.137    <none>        3310/TCP   2d19h
kubernetes           ClusterIP   10.96.0.1       <none>        443/TCP    3d22h
|
至此,贝亲商城已经完全部署到了集群环境,我们这里看到服务的虚拟IP是10.97.138.238,我们可以验证下这个服务IP的80端口是否能提供服务。
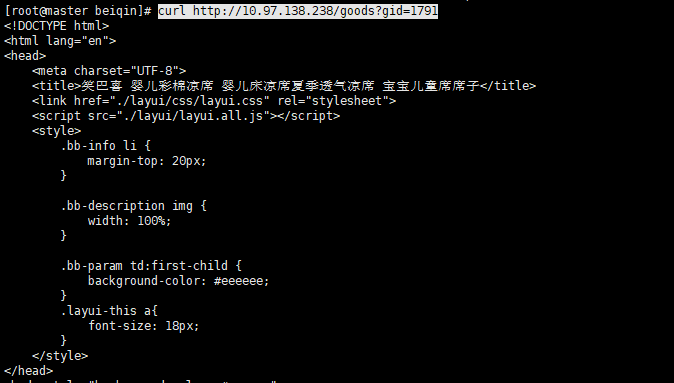
3.4 验证服务
1
|
$ curl http://10.97.138.238/goods?gid=1791
|
4. 利用Rinetd对外暴露服务
1
2
3
|
$ vim /etc/rinetd.conf
0.0.0.0 80 10.97.138.238 80
$ rinetd -c /etc/rinetd.conf
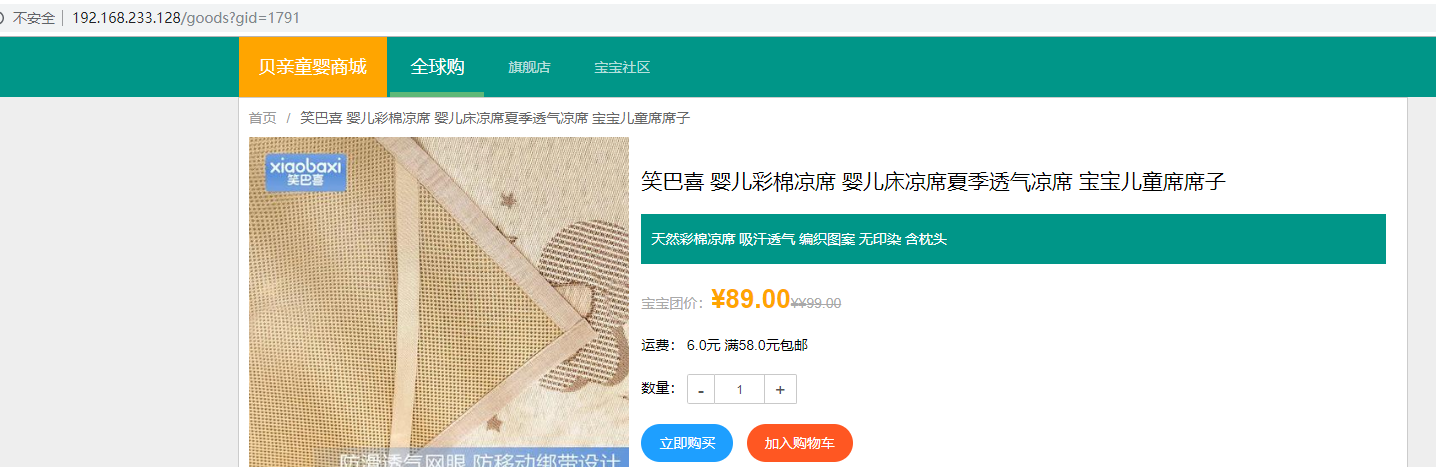
|
最后通过本机访问虚拟机master的IP,成功访问到了服务